Installation
There are three ways you can install Winter:
- Using the Composer package manager (if you are comfortable using the command line)
- The Web-based installer (most similar to the WordPress web installer)
- Using the Softaculous installler (if your hosting provider supports it).
- Using the Winter CMS Docker image.
Before you proceed, check that your server meets the minimum system requirements:
Minimum system requirements
Winter CMS has some server requirements for web hosting:
- PHP version 8.1 or above. (we recommend at least PHP 8.2)
- The following PHP extensions installed and enabled:
- cURL
- GD
- Mbstring
- OpenSSL
- PDO (including the drivers of your database server)
- SimpleXML
- ZipArchive
We also recommend the installation of the PDO SQLite extension, regardless of your database type, as some functions in Winter CMS may benefit from being able to use temporary SQLite databases.
Supported Databases
- MariaDB 10.2+ (Version Policy)
- MySQL 5.7+ (Version Policy)
- PostgreSQL 9.6+ (Version Policy)
- SQLite 3.8.8+
- SQL Server 2017+ (Version Policy)
When using the SQL Server database engine, you will need to install the group concatenation user-defined aggregate.
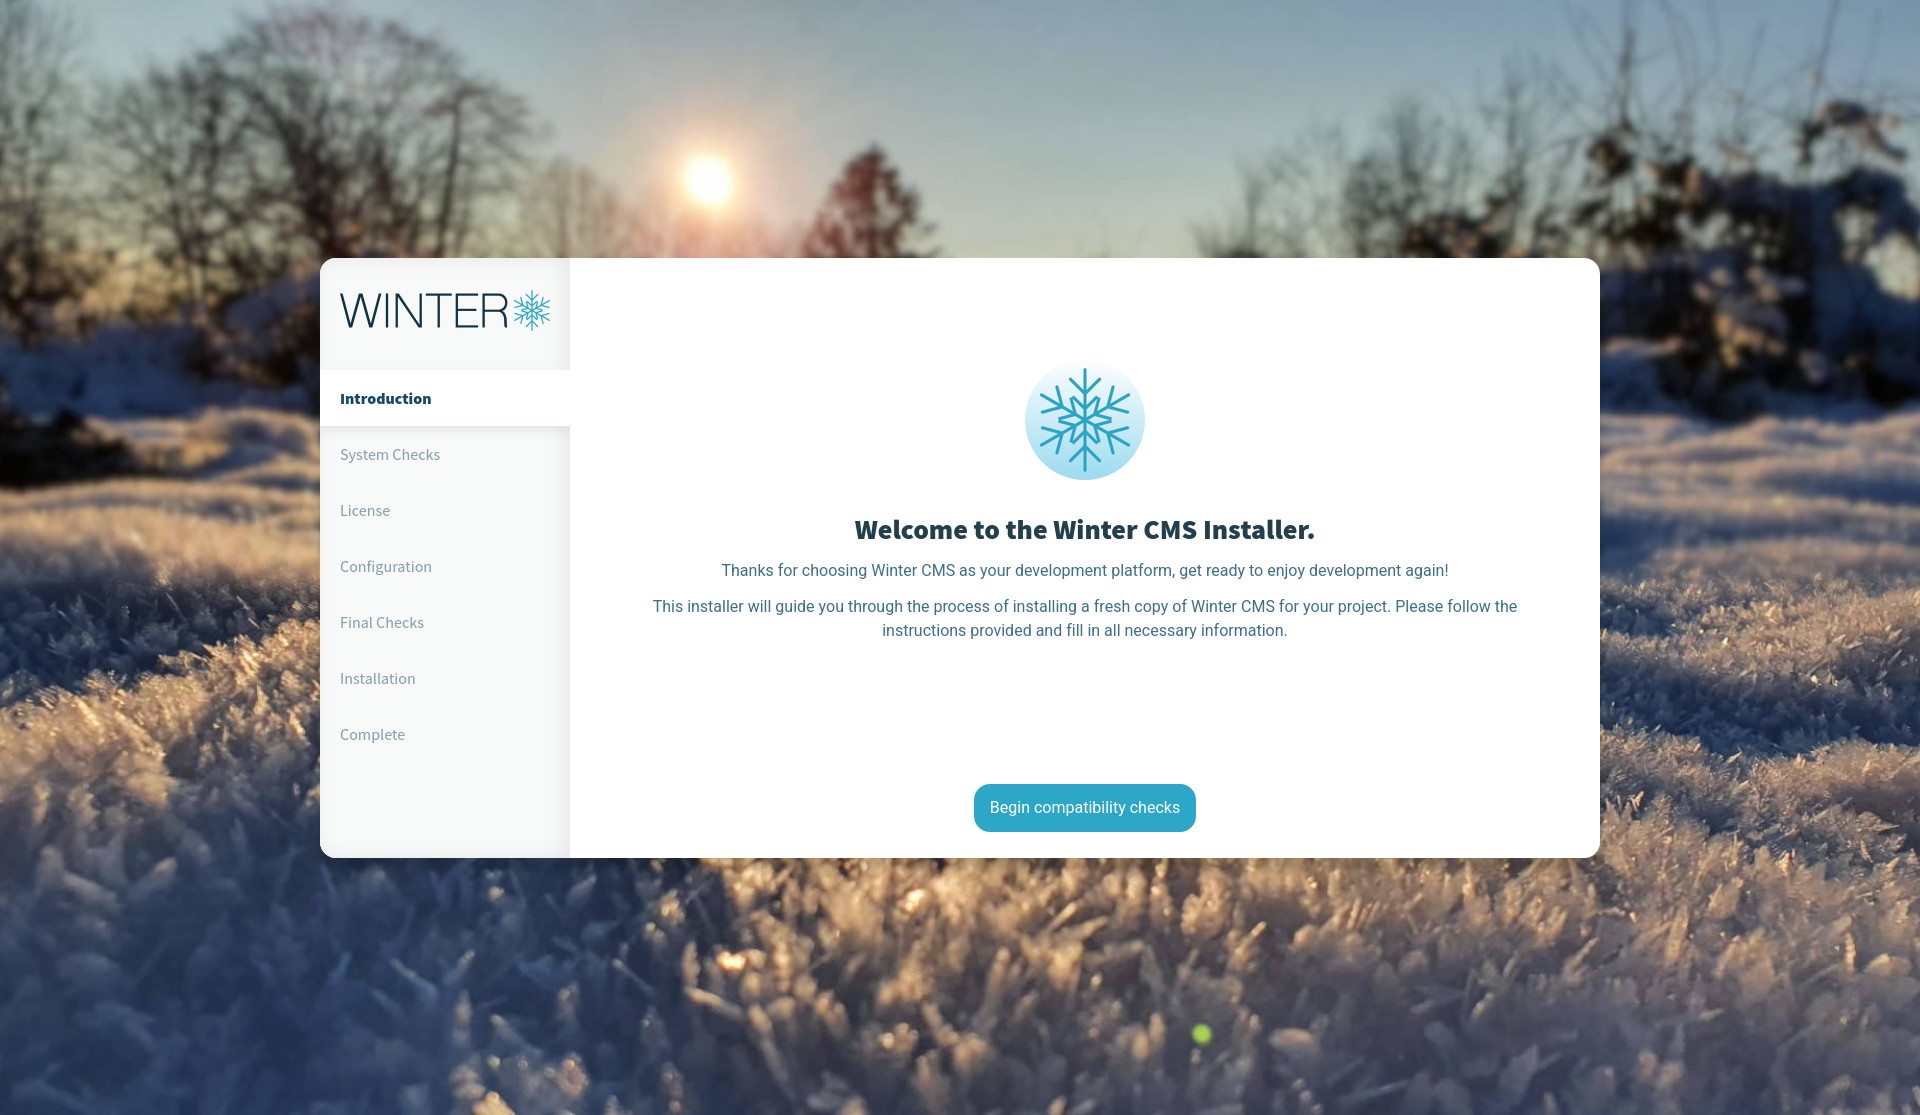
Web-based installation
The Web Installer is the recommended way to install Winter for non-technical users. It is simpler than the command-line installation and doesn't require any special skills.
NOTE: If you are a developer, we recommend that you install via Composer instead
- Prepare an empty directory on the web server that will host your Winter CMS installation. It can be a main domain, sub-domain or subfolder.
- Download the "install.zip" file from the latest release of the Winter CMS Web Installer into this folder.
- Unzip the downloaded ZIP file.
- Grant write permissions to all files and folders that were extracted.
- In your web browser, navigate to the URL pointing to that folder, and include
/install.htmlat the end of the URL. - Follow the instructions given in the installer.
Troubleshooting a web-based installation
-
Unable to connect to the Winter Marketplace API: If your server has a firewall blocking requests to port 443, you will need to allow requests and responses for this port. Contact your system administrator to allow access to this port.
-
Installer fails on the "Determining dependencies" or "Installing dependencies" step: Under the hood, the web installer uses Composer to process and install the dependencies necessary to run Winter CMS - note, you do not need Composer installed as a CLI tool for this to work. This process may require a larger amount of memory to complete - if your environment restricts memory usage for your applications, consider allowing up to 1.5GB of memory temporarily for the installer, then reduce it after the installation is complete. The installer will try to do this automatically.
-
Installer does not display or function correctly: The web installer has been built on modern frontend frameworks, and may require the use of a more recent browser version. Consider installing Mozilla Firefox, Microsoft Edge or Google Chrome and keeping it up-to-date.
-
Unable to parse JSON response: Depending on your internet connection, downloading all the source files may take more time than the
max_execution_timePHP configuration value allows; causing the download to end with an incomplete file base. Modify the PHP configuration to increase this value and try again. -
Unable to determine dependencies for Winter CMS. Your composer.json file is invalid.: This error has been reported by people using shared hosting, and is usually the result of either the
proc_*methods being listed in thedisable_functionsPHP INI setting, or thepcntlextension for PHP not being enabled. Unfortunately, at this stage, there is no workaround, but you may be able to use the Installer on a local development environment that does not have these limitations, and then simply copy the full directory to your shared hosting once completed. We are actively looking into more long-term fix for this behaviour.
Command-line installation
If you feel more comfortable with a command-line or want to use Composer, there is a CLI install process on the Using Composer page.
Docker image
We provide an official Winter CMS Docker image, available either on the Docker Hub or the GitHub Container Repository.
This Docker image is built upon the FrankenPHP web server using PHP 8.4, and is pre-configured to be production-ready and supports all major database server types and caching servers.
To run the Docker image, you must have Docker installed on your server or desktop.
You may find documentation of the usage of this image on the Winter Docker Image README.
Post-installation steps
Once your Winter CMS installation is complete, there are a couple of post-installation steps that we recommend that you review before proceeding.
Delete installation files
If you have used the Web-based installation method, you should verify that the installation files have been deleted. The installer will attempt to cleanup after itself, but in rare circumstances, it may be unable to do so.
Please ensure that the following directory and files have been removed:
MyWinterFolder/
|-- install/       # Installation directory
`-- install.html   # Installation script
Review configuration
Configuration files are stored in the config directory of the application. While each file contains descriptions for each setting, it is important to review the common configuration options to ensure that they are suitable for your circumstances.
For example, in production environments you may wish to enable CSRF protection, while in development environments, you may want to enable bleeding edge updates.
In particular, we strongly recommend disabling debug mode for production environments. You may also want to use a public folder for additional security.
Setting up the scheduler
If you intend to use scheduled tasks, or install plugins that use scheduled tasks to function, you should add the following cron entry to your server. Editing the crontab is commonly performed with the command crontab -e in the command-line interface of your server.
* * * * * php /path/to/artisan schedule:run >> /dev/null 2>&1
This cron task will call the command scheduler every minute, to which Winter will evaluate any scheduled tasks and run the tasks that are due for execution.
NOTE: If
phpis not on your PATH, then make sure you provide the absolute path to the version of PHP you wish to run the scheduler with./path/to/artisanshould also reflect the absolute path to theartisanfile in the root directory of your Winter installation. NOTE: If you are adding this to the system crontab (/etc/cron.d), you'll need to specify the user to run the command as immediately after* * * * *.
Setting up queue workers
You may optionally set up an external queue for processing queued jobs. By default, Winter will run queued jobs asynchronously, which may cause slower performance and response times for users if the jobs are large. This behavior can be changed by setting the default parameter in the config/queue.php. Please review the Queue service documentation for more information on setting up a queue runner.
If you decide to use the database queue driver, it is a good idea to add a crontab entry for the command php artisan queue:work --once to process the first available job in the queue:
* * * * * php /path/to/artisan queue:work --once >> /dev/null 2>&1